How To Cut A Metal Can For Jewelry and Crafts
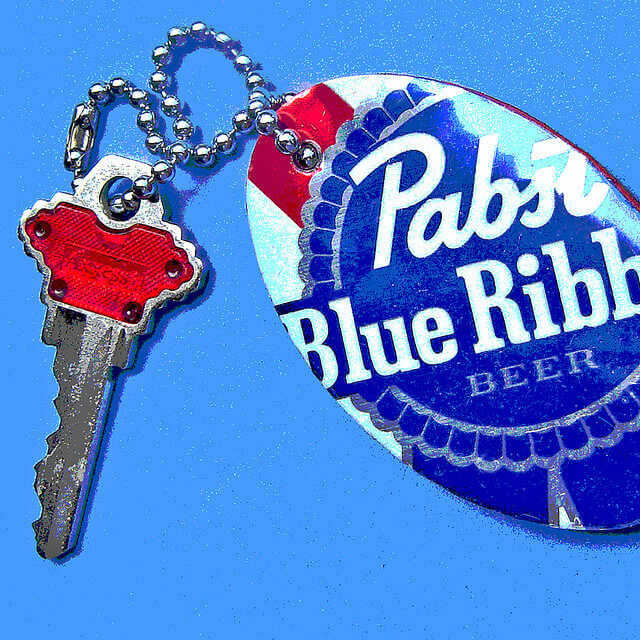
While walking through a local craft fair my daughter and I had seen jewelry and keychains made from recycles aluminum cans. We decided at that point we wanted to know how to cut a metal can for jewelry and crafts.
Our online searched brought up plenty of items made with recycled cans but empty handed on the process to make goods from aluminum cans. That was until we found some art made by Mary Anne Enriquez
Mary Anne was kind enough to draw up and instruct us in answering our number one question – How do you cut the cans so they lay flat?
Let me share with you, what we found out – straight, from Mary herself.
Directions:
Step 1 – There is always a starting point. Read through the step below and you will be on your way to making unique, recycled treasures.
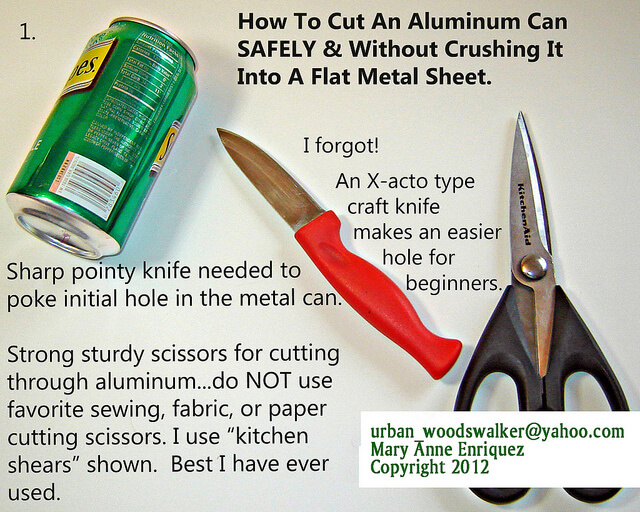
Step 2 – X marks the spot to start cutting. Use an X-acto knife to poke a hole for your scissors.
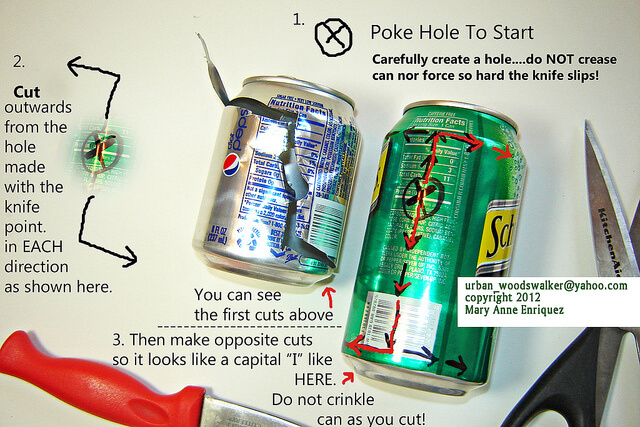
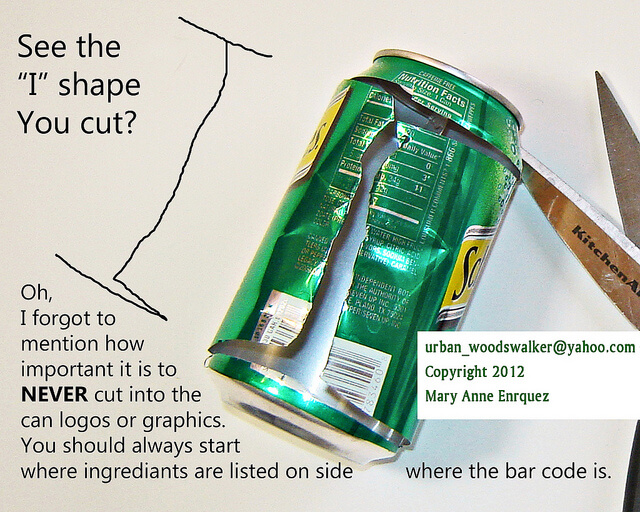
Step 3 – Cut into the I shape. Be sure to mark and cut on the ingredient listing.
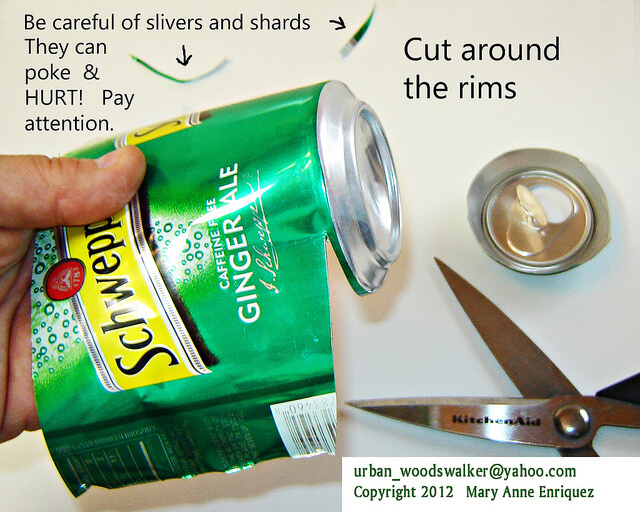
Step 4 – Cut around the rims of the can.
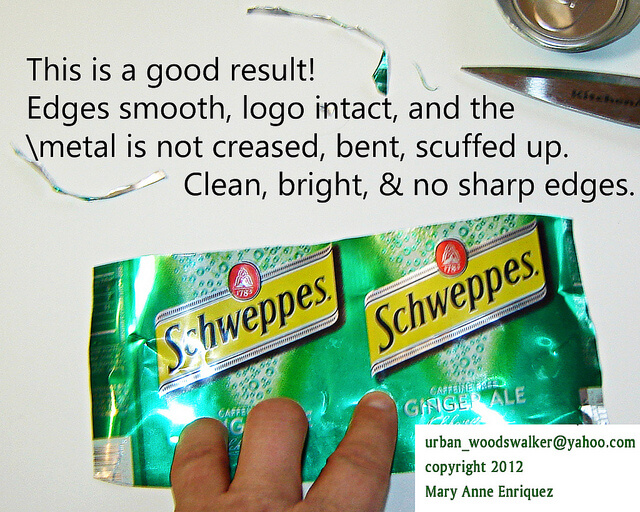
Step 5- Smooth out sharp edges.
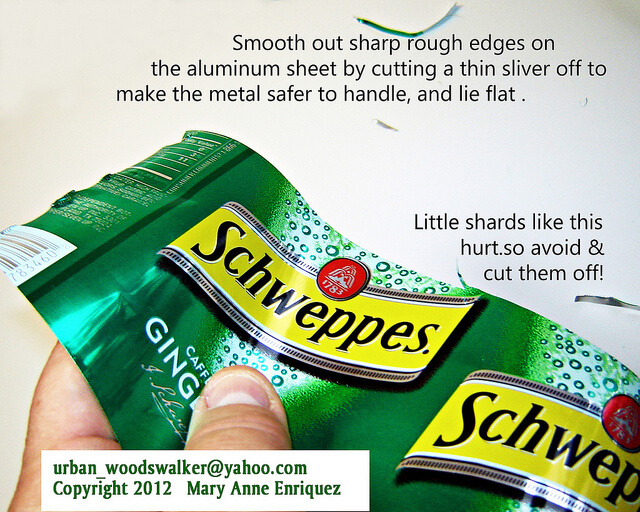
Step 6- No sharp edges with the logo intact.
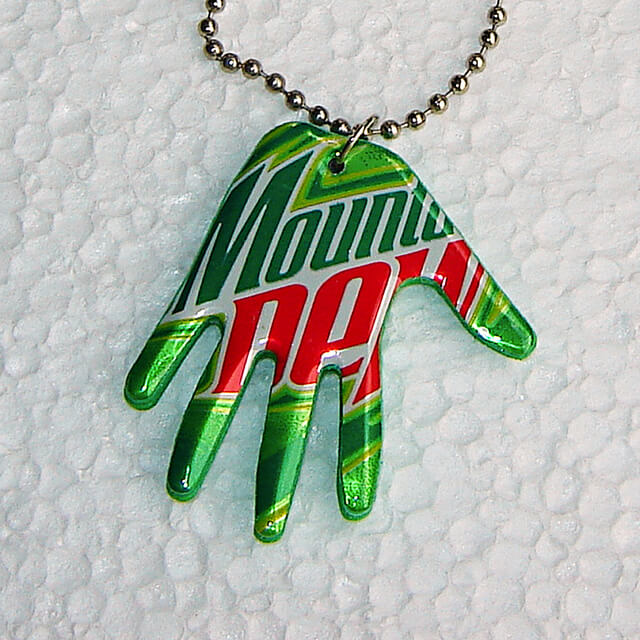
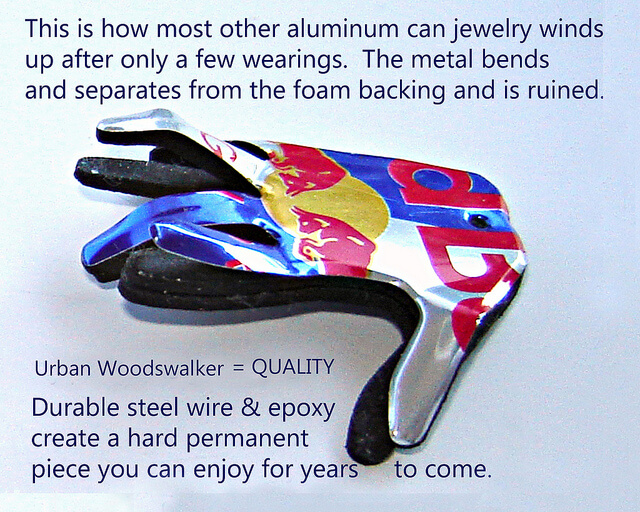
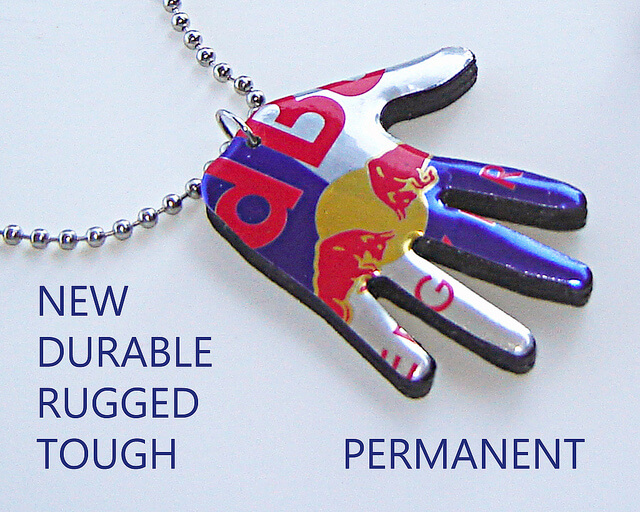
To create the necklace pendants we purchased:thin foam backing, metal paper punches,e6000 glue, clothes pins, Envirotex epoxy resin, wire, hole punch, , bead necklaces.
Directions for Pendants:
1.) Use metal paper punches
to punch out shapes in the aluminum cans and also one,thin,foam backing
for each of your aluminum can shapes.
2.) Using e6000 glue, glue a foam shape backing to the silver, or non-decorative side of the can shape. This will cover the back sharper edges.
3.) To hold the can and foam backing pieces together, use a few clothespinsaround the edges. Let completely dry.
4.) Hole punch a hole in the upper part of the pendant using a small circle hole punch. This will be the jump ring hole.
5.) Thread a piece of wire through the pendants jump ring hole. This will become a hanger for the next step, resin dipping.
6.) Mix your epoxy resin up according to your instructions. Read all of the Envirotex epoxy resininstructions before mixing.
7.) Hold on to the wire that you inserted into the jump ring hole and carefully dip the foam backed can shape into the resin.
8.) Hang the resin pendants over a wax paper surface off a dowel rod. About five minutes into the drying time and again at ten minutes, smooth any dip edges. The mixture will start to become harder by the 20-40 minute mark. So, be sure to have all edge drips corrected by this time.
It is important to give your pendants the complete drying time as directed on the package.
9.) Add a jump ringand necklace
– enjoy!
If you want to see more of Mary’s “Trashion” you can find a slew of cool things over on her Flickr account —>Click Here









Leave a Reply
You must be logged in to post a comment.