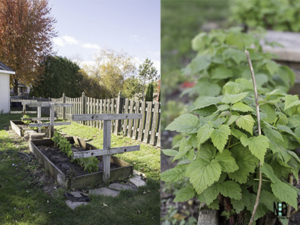
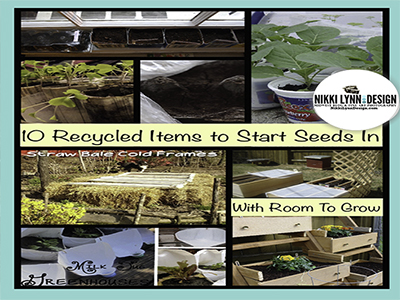
I am wholeheartedly committed to growing all the fresh produce that I can this growing season. This led me on a hunt to locate ways to achieve my goal. A straw bale garden is my solution.
The four things that set me back from picking the most I can from my garden are rabbits, weeds, space and my dogs. Yep, you read that correct, my dogs. Those buggers like to steal anything they can get their paws on to eat. From the raspberries to the cucumbers.
What the dogs don’t get, the rabbits try to. They love the flowering buds, the lettuce and carrot tops.
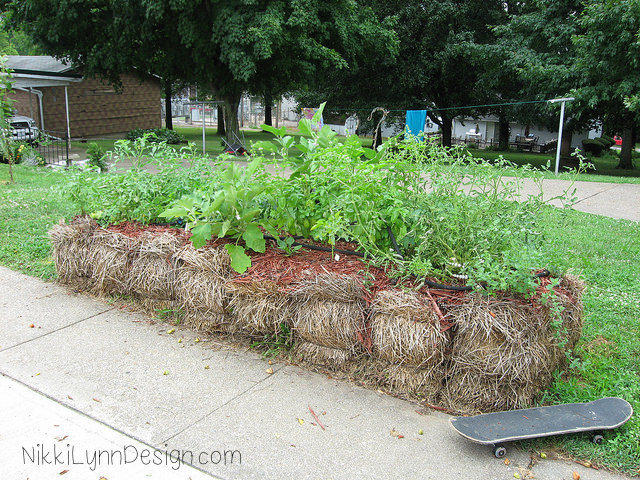
This year’s approach is something that might surprise you, straw bale gardening! I need a little more country in this city yard and I believe this will do the trick.
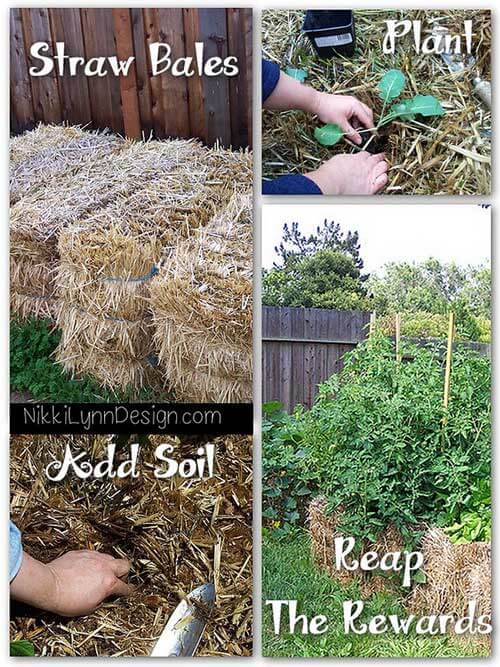
If you don’t want to spend a lot of time preparing a garden plot and weeding but want to reap the rewards of fresh produce – Think outside the garden box.
I came across a lady named Ruth Temple on Flickr back in 2010 who shared her unique way of gardening. I thought it was just the solution I needed. The bales will reduce my weeding time and keep the product off the ground for the most part, away from the critters.
Preconditioning Straw Bales
Select clean, weed-free straw bales to minimize future weeding. Straw bales are usually available at farm supply dealers or directly from local farms. 2-String or 3-string straw bales may be used.
Step 1 – Place bales with the baling twine parallel to the ground. The twine will help to hold the bale together as the season progresses and the bale decomposes
Step 2 -The preconditioning process begins when the bale is moistened. High nitrogen levels are maintained initially by adding fertilizer. Midway through the conditioning process, nitrogen fertilizer inputs are tapered off as the bales continue to compost.
During preconditioning, the bales will become hot, and the pH will change as decomposition occurs. It is important to complete the initial compost process prior to planting in the bales to prevent burning of plants.
Fertilizer Choices

A quick word about the fish emulsion, it works well. Although, it can attract animals and in hot and humid weather in the city, your neighbors might not like you. In the country, you will have room – go for it.
Apply fertilizer material across the top of the bale before watering using the schedule below.

The full and half rate measurements are in the table above.
Mushrooms Are Growing?
It is common for mushrooms to emerge from the bale after conditioning. This is normal and is a sign of active decomposition in the bales. These mushrooms should be should not be eaten. Their presence will not affect your plants, but their emergence can disrupt the seedbed, interfering with germination. Just remove them as you see them.
Growing in Straw Bales
The process of raising crops in straw bales is very similar to that used in raised bed gardening. Bales are usually good for only one growing season. After that, they can be used as mulch or added to a compost pile.
Planting in Straw Bales
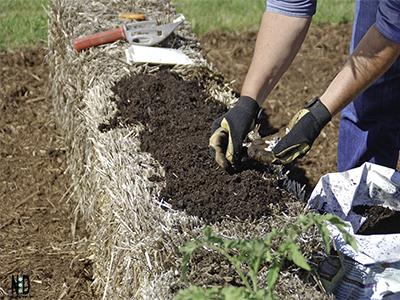
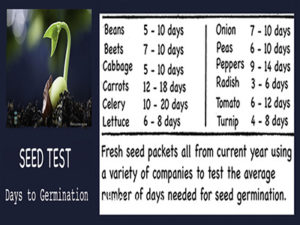
For plants usually grown from seeds such as lettuce, squash, and carrots, an effective method of planting is to cover the surface with 2 to 3 inches (5 to 8 cm) of a soilless potting mix or media suitable for growth. This allows seeds to germinate in a finer-textured medium than straw. Seed planted in this prepared surface can be planted in the same manner as one would plant a traditional garden in soil or a raised bed.
An alternative to starting seeds in the bale is to remove some of the bale to make a small hole. Fill this hole with a potting mix and plant seeds or transplant seedlings you have already started indoors into the prepared area. This technique is appropriate for vegetables that form large plants, such as squash. As with any garden, plants should be spaced with enough room for them to grow.

Watering
Water immediately after transplanting, ensuring that both the potting soil and bale are well irrigated.
When planting bales, be sure to give consideration to how you will irrigate your crop. Soaker hoses and drip emitters are common methods of providing water slowly to each bale. New transplants set into straw bales may dry out quickly until their roots move into the bale. Expect to water frequently while bales are still fresh.
Trellises and Supports
Any trellises or supports should be anchored directly into the ground. As a bale decomposes, its ability to provide support diminishes, and the trellis may fall over. Bales aligned in a row with a single T-post at each end as an anchor is a good option for support and will provide additional support for the bales on the ends as they decompose. As the bales age and plants’ roots spread throughout the bale, the
You can plant anything and everything you would like with a little soil inside the bales. Ruth planted tomatoes, beans, cukes, lettuce, peppers, carrots, broccoli…I think you get the point. The process is simple!
Materials:
Straw Bales
Potting Soil
Plants
Snake Hose
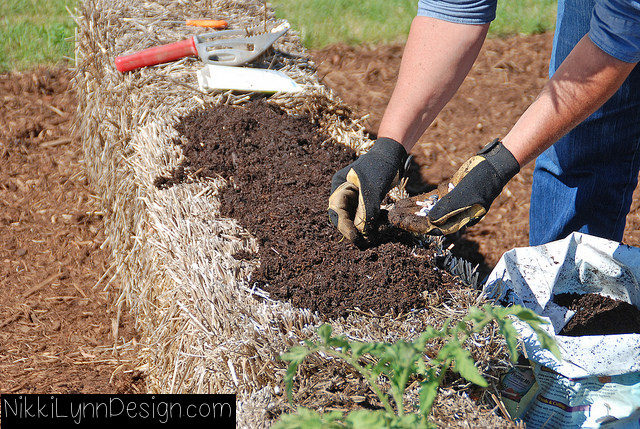
Directions:
1.) Precondition straw bales
2.) Core out a spot in the straw bales for each of your plants.
3.) Place some soil into the hole.
4.) Plant your plant.
5.) Snake a soaker hose between the rows.
6.) Sit back and watch the plants grow.
7.) Fertilize the bales often at a lower dose than traditional raised garden beds.
You can also add supports or teepees to the bales to vertically grow your produce, which will add even more to your yearly produce yields.
Some of this work is copyright and licensed under the Creative Commons Attribution-NonCommercial-NoDerivatives 4.0 International License through the Regents of the University of California. To view a copy of this license, visit https://creativecommons.org/licenses/by-nc-nd/4.0/ or send a letter to Creative Commons, PO Box 1866, Mountain View, CA 94042, USA.
